How to Calculate Pixel Difference in a Picture

Working with Image Pixels in OpenCV
Getting and setting image pixels for processing with OpenCV
![]()
Pixels are important attributes of images in computer vision. They are numerical values that represent the color intensity of light in a particular space in an image and are the smallest units of data in an image.
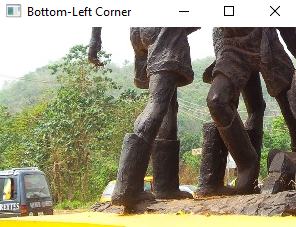
The total number of pixels in an image is obtained as the product of its height, width and channels.
Since Images in OpenCV are read as Numpy arrays of pixel values, it is then possible to get and process regions of an image as represented by the pixels of that region using array slicing operations.
Slicing o perations are used to retrieve subset of sequences such as lists, tuples and arrays and as such can be used to get the pixel values of regions of an image for processing such as editing, formatting or cropping.
Slicing operations
Script : Use slicing operation to get subset of a list.
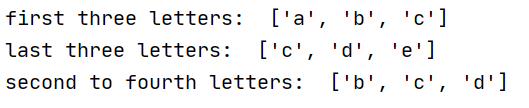
Notice that I used index values to slice the list of letters. For example, passing a start index of 1 (index for the second letter in the list ) and 4 returns a slice of the list, from the second to fourth values.
As index values are used to retrieve subset of interest in this way, so are they also used to target and retrieve regions of interest in images.
The slice to target a region in an image is defined by the start and end values of both axes (horizontal (X) and vertical(Y)) of the image in the format :
image[startY: endY, startx:endX]
Which returns a Numpy array (of the image pixels) for the desired region of interest.
How then do we determine the start and end values of the X and Y axes for our region of interest?
These values (startX, endX, startY, endY) are coordinate values that maps out the region of interest. These values are not displayed alongside the image when displayed with OpenCV, but we can use other applications (such as Photoshop, Corel Draw, Paint e.t.c) or other python visualization libraries (such as Matplotlib) to display images with their X and Y coordinates values.
As always, this is better understood in practice. Let's display an image using matplotlib.pyplot from which we can retrieve the coordinates that maps out a targeted region of interest in the image.
I demonstrate this with an image of the National flag of The Republic of Ghana. Here, I target the region that surrounds the black star in the image.
Getting the coordinate values for the region of interest.
- Load and display the image using Matplotlib.
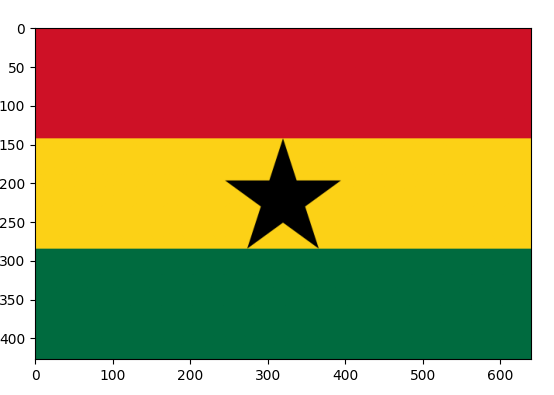
As you can see, The plt.imshow function returns the read image along with coordinates values for the x and y axes.
We can then retrieve the values of the start and end coordinates for our region of interest (the black star). Below is a plot of how to trace out the values of the star region.
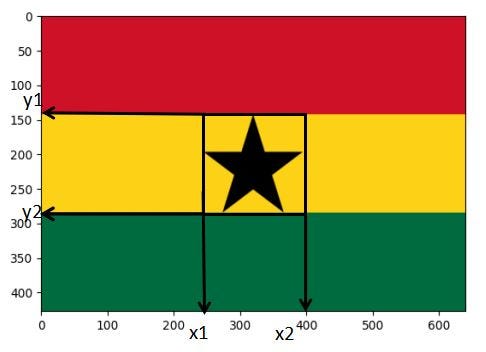
The image shows how to trace out the coordinates that targets the region around the black star.
From the image we can retrieve the coordinates (startY(y1), endY(y2), startX(x1), endX(x2)). We can then define our start and end coordinates for both axes and crop out the star as:
image[y1: y2, x1:x2]
if we get y1, y2 = [145, 295] and x1, x2 = [245, 400] Then the region that maps out the black star would be:
black_star = image[145:295, 245:400] This will return the pixel values (in a Numpy array) that maps the region of interest (the black star in this case).
Now we can employ this technique in targeting and slicing regions of our image for a variety of image processes.
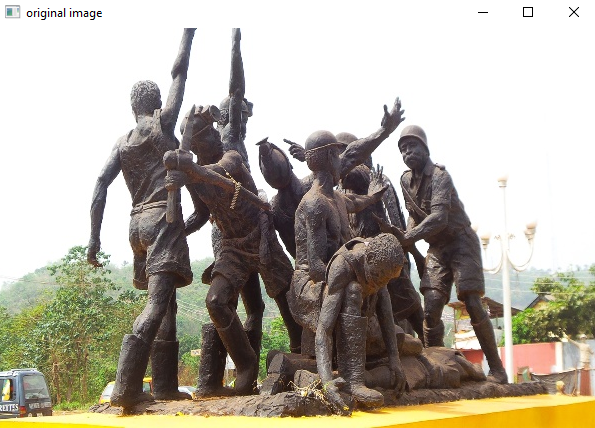
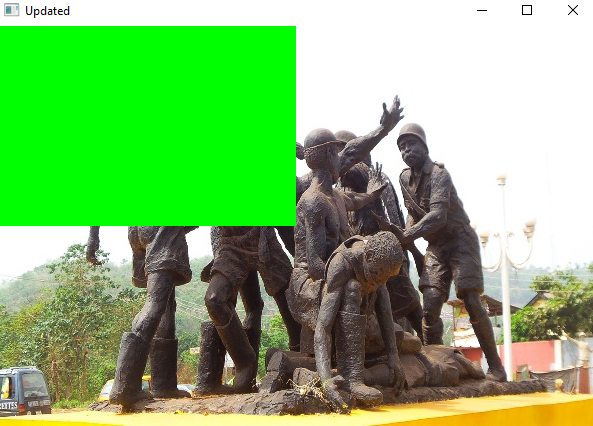
I demonstrate common image processing techniques with slice operations using an image of coal miners statue from Enugu, Nigeria.
Cropping Images using slice operations
1. Load and display the original image
2. Get the Spatial Dimensions of the Image
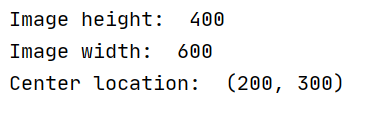
3. Use the Dimensions to Crop the Image
Cropping out the Top Left Corner of the Image
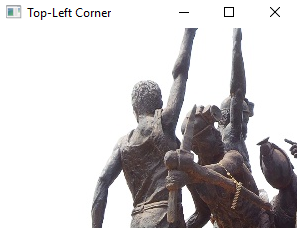
Cropping out the Top Right Corner of the Image
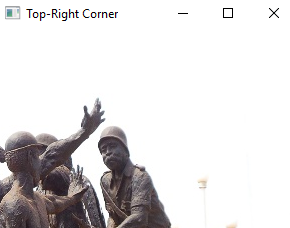
Cropping out the Bottom Left Corner of the Image
Cropping out the Bottom Right Corner of the Image

4. Using Dimensions to set parts of the image to certain colors.
Summary:
Image pixels are numerical values that represent color intensities in images. The procedures of getting and setting image pixels for different image processing with OpenCV are based on slicing operations of Numpy arrays. Slicing the pixel values is useful in cropping, resetting, duplicating or enhancing images.
How to Calculate Pixel Difference in a Picture
Source: https://towardsdatascience.com/working-with-image-pixels-in-opencv-fb03b1fe9439